£0 0 item
 Published: 29-10-2021
Many people have been growing weed in recent times. However, some of them are not happy with the long harvesting time traditional plants take. They want to put in less effort and enjoy a quicker yield all around the year.
But is it even possible?
Some growers may have heard about autoflower plants. This type of weed grows really quick and produces enough harvest for one or two persons.
As a result, many growers want to plant autoflowers. In this guide, we will take you through each step of the process, from seeding to harvesting autoflowers.
So, let’s dive in without any delay!
Autoflower seeds move to the flowering stage without any effort from the grower. The name comes from this characteristic, and you can harvest your plant within 8 – 10 weeks. Additionally, autoflower seeds don’t need cycles of light and dark to generate a yield.
Therefore, autoflowers are ideal for beginners to experiment.
You can plant more than 200 varieties of autoflowers and generate yields of 10 to 200 grams per plant.
Autoflowers are quick to harvest. However, the exact time it takes from seed to harvest depends on the size and strain.
For example, dwarf varieties of autoflowers can reach the harvesting stage within six weeks. On the other hand, taller strains of about 6 feet may take 100 days to mature.
Nonetheless, the harvesting period will be shorter compared to photoperiod plants.
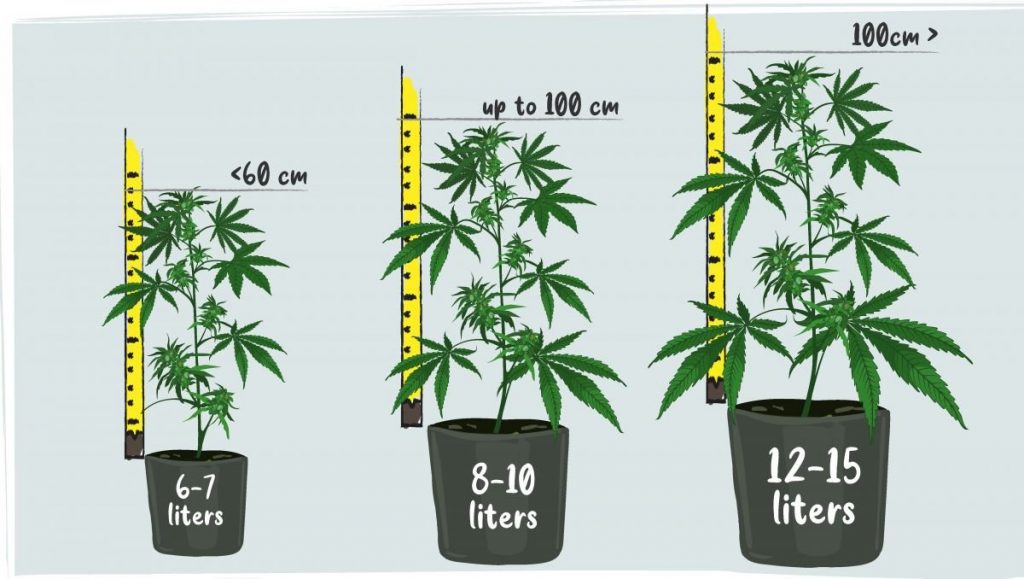
Autoflowers generally don’t grow too tall. Therefore, you will not need a huge pot. That being said, you should find a pot that has enough room for your plant to grow.
The size of pot you need will depend on two factors:
Small plants for indoor harvesting can use pots of 1.75 to 2.5 gallons (6.5 to 9.5 litres). For bigger plants, try to arrange a 3-gallon pot (11 litres).
When it comes to outdoors, you will need a pot of 2.65 to 4 gallons (10 and 15 litres). Generally, this is the largest pot size recommendable for autoflowers.
Additionally, ensure the pot you choose has adequate drainage.
Autoflowers are easy to grow compared to photoperiod seeds. One of the top reasons is the simplicity of lighting conditions. You can provide your plants with 8 hours of light and 6 hours of dark during the entire growing period.
A 250 watt LED is enough for the purpose. In addition, ensure to maintain the pH of your soil between 6.0 and 6.5.
You can use a pH tester to monitor your soil.
Below are the steps for each week of growing:
Buy a light potting soil or prepare your own with the following:
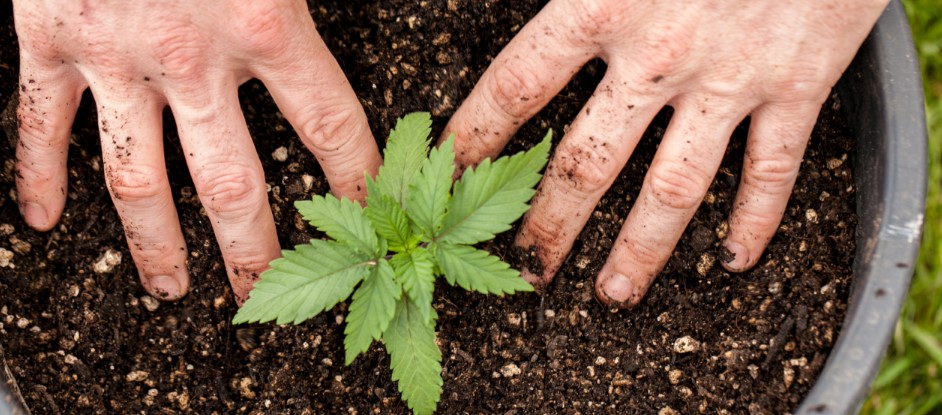
Pour the mix into your pots and make a hole of 15 millimetres. Put the seeds inside and cover them with soil.
In addition, maintain an air temperature of 22–25° C and 70 – 90% relative humidity (RH). You may see seeds germinating between 24 hours and three days.
Note: Plant your autoflowers in the final pot. Don’t try to replant the sapling in another pot, as it will be stressful for your plant. As a result, your yield can also suffer.
Provide nutrients to your saplings in the seedling stage. Remember to pour half the amount recommended on the label since you are growing autoflowers.
Your plants will start to vegetate during week 3 and may grow to 15 cm. It is the right time to introduce low-stress straining, so maintain a temperature of 20° C and 50% RH.
Feed your plant with nutrients two times in the week and pour half a litre of water every day.
Your autoflower plants are now moving close to the flowering stage. In fact, you may even see some pre-flowers emerging.
Your job is to keep the temperature at 20° C and maintain 45% RH. Feed your plants with nutrients two times a week and keep applying half a litre of water each day.
Your autoflower will give you hints of the harvest it is going to yield in a short time. Week 5 is the flowering stage, and you will see resin-rich buds making their appearance. You will need to maintain a 23° C air temperature and 45% RH to encourage flowering.
Additionally, provide your plant with a litre of water every day and apply nutrients twice a week.
Your plant will now reach a height of around 30 cm. It will demand more nutrients, so you can drop in supplement tablets focusing on:
Flowers will now form on the buds of your plant during week 6. You should increase the air temperature to 24° C to boost the harvest. However, reduce the humidity to 40% RH to discourage the growth of mould.
In addition, provide your plant with 1.5 litres of water daily. Also, apply nutrients three times a week.
Follow all the parameters of week 6 to support your plants during this maintenance stage. Additionally, inspect the plants regularly for mould, pests, and signs of nutrient deficiency.
Fix the pH of your soil accordingly to resolve the issue.
Don’t feed your plants with nutrients during weeks 8 and 9. Instead, pour as much water as your pot can hold and refill it once it’s empty.
Additionally, maintain 40% RH and 25° C air temperature. You should also defoliate your plant with a trimmer.
Remove the fan leaves at the top of the canopy and lower nodes.
Do your plants have sugary trichomes and red-brown pistils?
Then it’s time to harvest your autoflowers. You can smoke your yield once you have dried and cured your buds.
However, don’t worry if your plant is a bit late to mature. They just need a little more time.
Autoflowers are ideal for enjoying a quick harvest. You can also grow them in varying conditions and locations, like a city. Additionally, you need less space as the plants don’t grow too tall. All you need to ensure is proper nutrients and care during the growing period.