 £0 0 item
Published: 30-12-2021
Cleaning a grinder is a task that many people dread. Some people think it's too difficult, others feel like they don't know how to do it, and still, others are intimidated by the idea of using chemicals. We're here to tell you that cleaning your grinder doesn't have to be hard or scary! Follow these simple steps and you'll be on your way to enjoying fresh ground cannabis in no time at all.
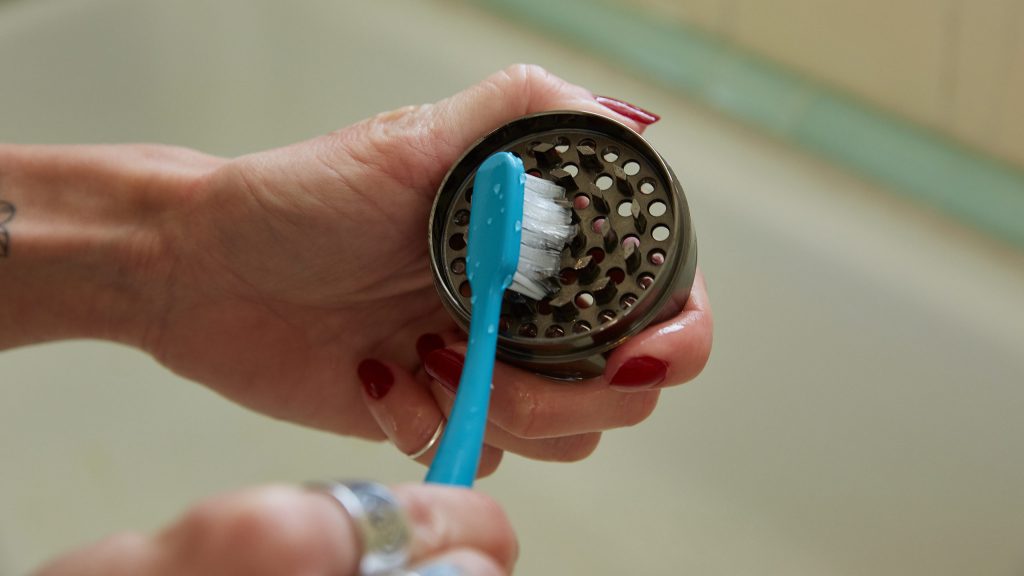
A grinder is a small, cylindrical device with two halves that fit together. The top half has teeth and the bottom one has a collection area for ground cannabis or tobacco. When you twist the top section, little pieces of herb fall from between the blades into the lower section to be collected for use in pipes or joints. Soaking both parts in water loosens up resin so it's easier to remove by hand or with an old toothbrush!

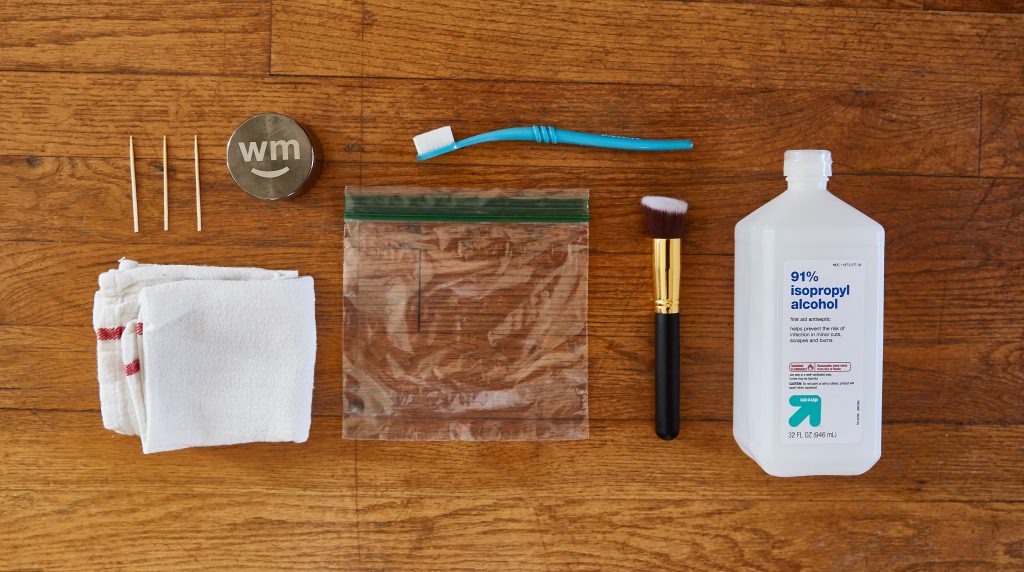
The first thing you will need is a clean workspace where you can spread out some paper towels. You'll also want something safe to soak your grinder in – we recommend glass because metal could react poorly with whatever chemicals are on your weed (also, glass is easier to clean). If you want, you can use a small bowl or cup instead of a clunky glass. Make sure it will hold your grinder and leave enough room for the water to be completely submerged!
Don't throw that old toothbrush away (yet)! You'll need some elbow grease too – we suggest an old toothbrush because they're stiffer than most cleaning brushes. Just make sure there's no more paste on them before you start working with resin-covered cannabis ground up in your precious herb catcher. Finally, grab yourself some organic hand soap or dishwashing liquid (preferably unscented) and warm water; if necessary add baking soda until suds form when shaken vigorously in a closed container.
There are two major reasons to clean your weed grinder. The first is that resin can build up in the teeth of your device and make herb clump together, which wastes product. If you're looking for a more economical way to enjoy smoking with friends or using cannabis medicinally, this will help!
Second, cleaning off the sticky icky resin makes it much easier for new material to fall through without sticking – meaning you'll spend less time shaking out what doesn't belong in your collection area. Doing this before grinding helps keep everything clean after too!
Now that you know why it's important to clean your grinder when is the best time to do it? We recommend every two weeks or so – just enough time for resin to build up without making a huge mess. If you're using your grinder more often than normal (or if someone else is borrowing it), then we suggest doing a quick clean after each use. This will only take a minute or two and can save you hours of cleaning later on!

You will need some paper towels, glass (or other containers if preferred), warm water with organic hand soap/dishwashing liquid added, baking soda if necessary for suds when shaken vigorously in a closed container, an old toothbrush (with paste off of course) and finally an elbow grease. First make sure there's nothing flammable around like lighters etc., then get started by laying down a paper towel covering the workspace where you will be working. After that, open your grinder and remove the top section with teeth from the lower half which has a collection area for ground cannabis or tobacco.
So, you've decided it's time to clean your grinder. Here are the easy steps that will get the job done:
And that's it! Your grinder is now clean and ready to use. Enjoy fresh ground cannabis in no time at all!
